Curious how to make awesome tech events in 2024? Join our LinkedIn Webinar TODAY and find out!
Organizer

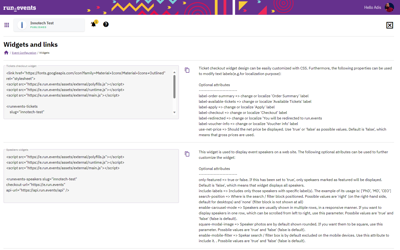
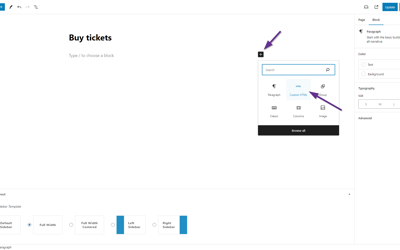
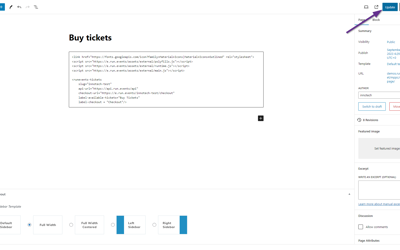
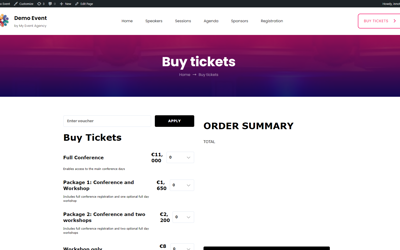
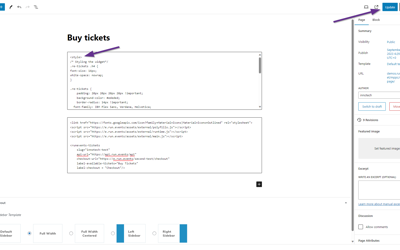
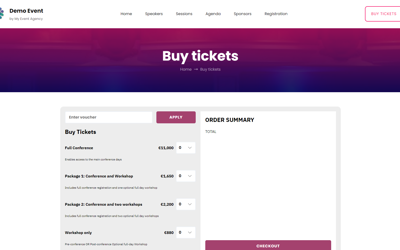
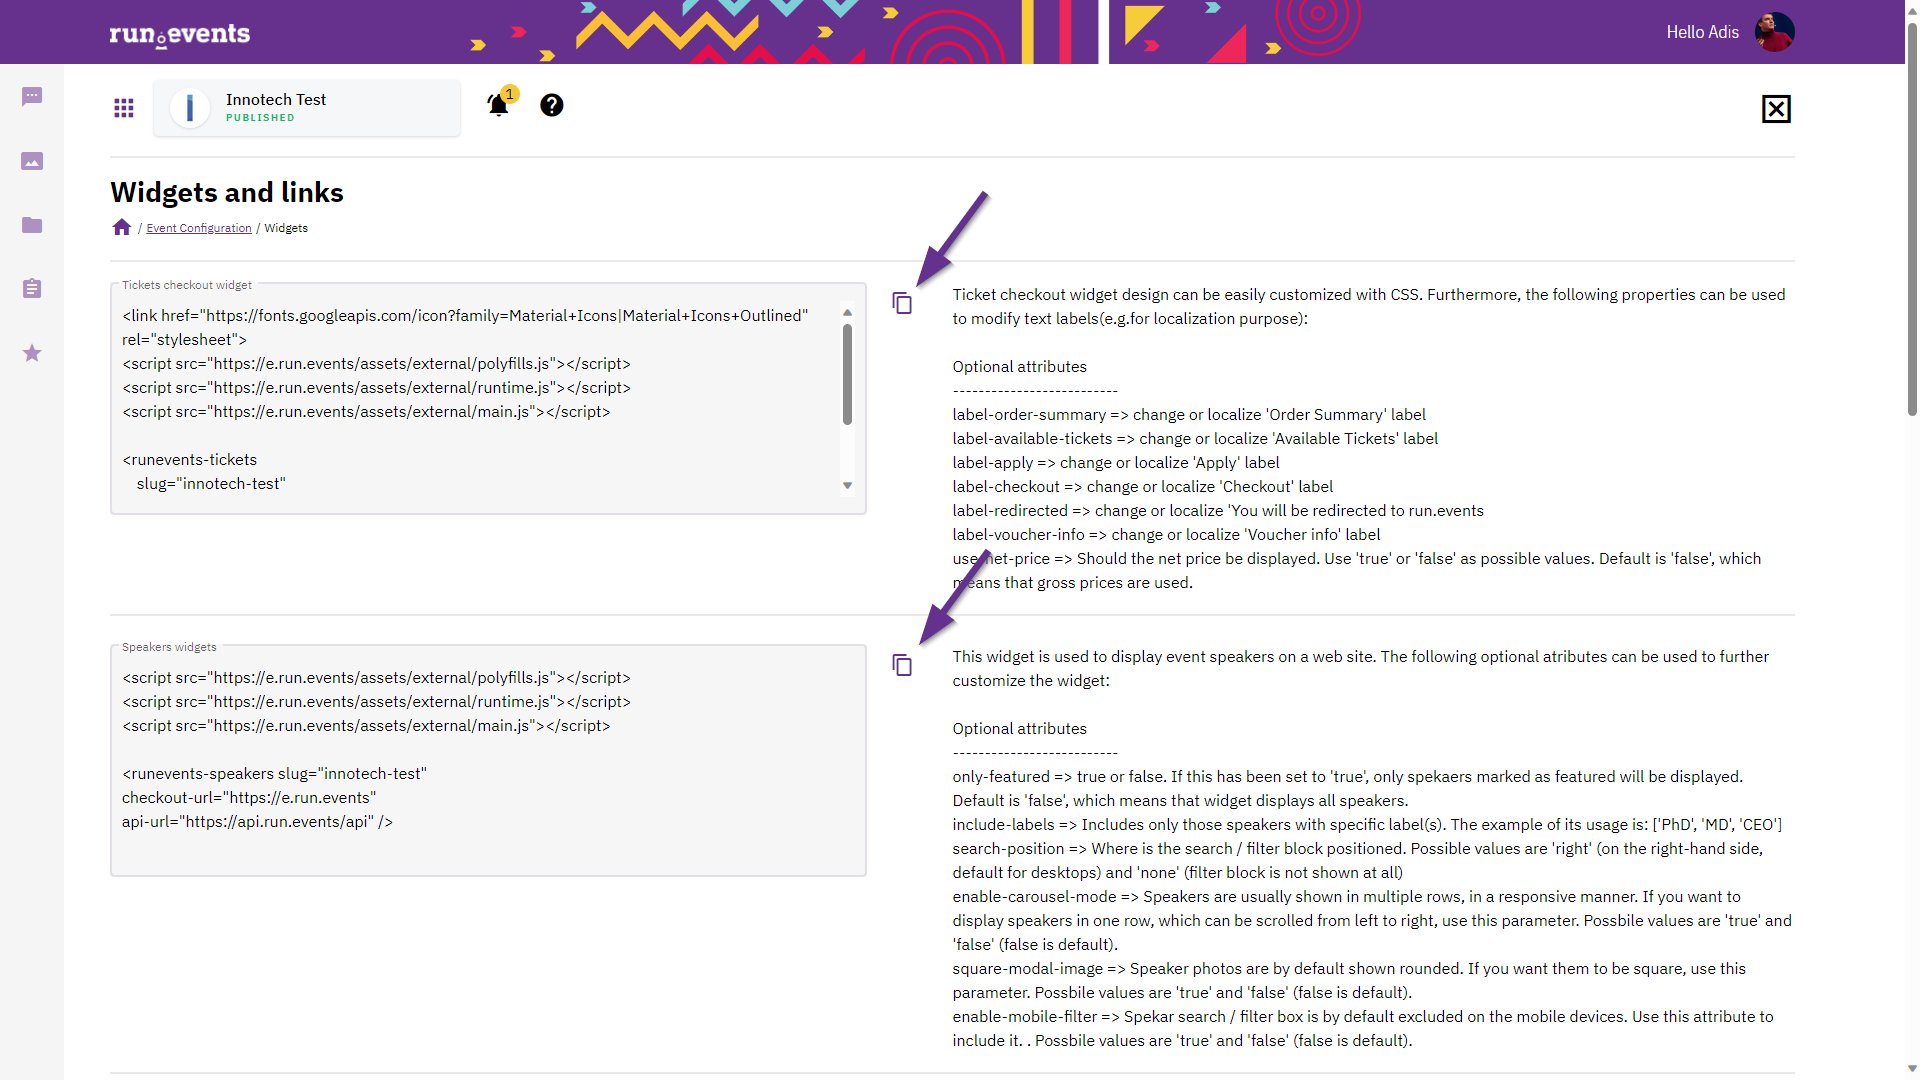
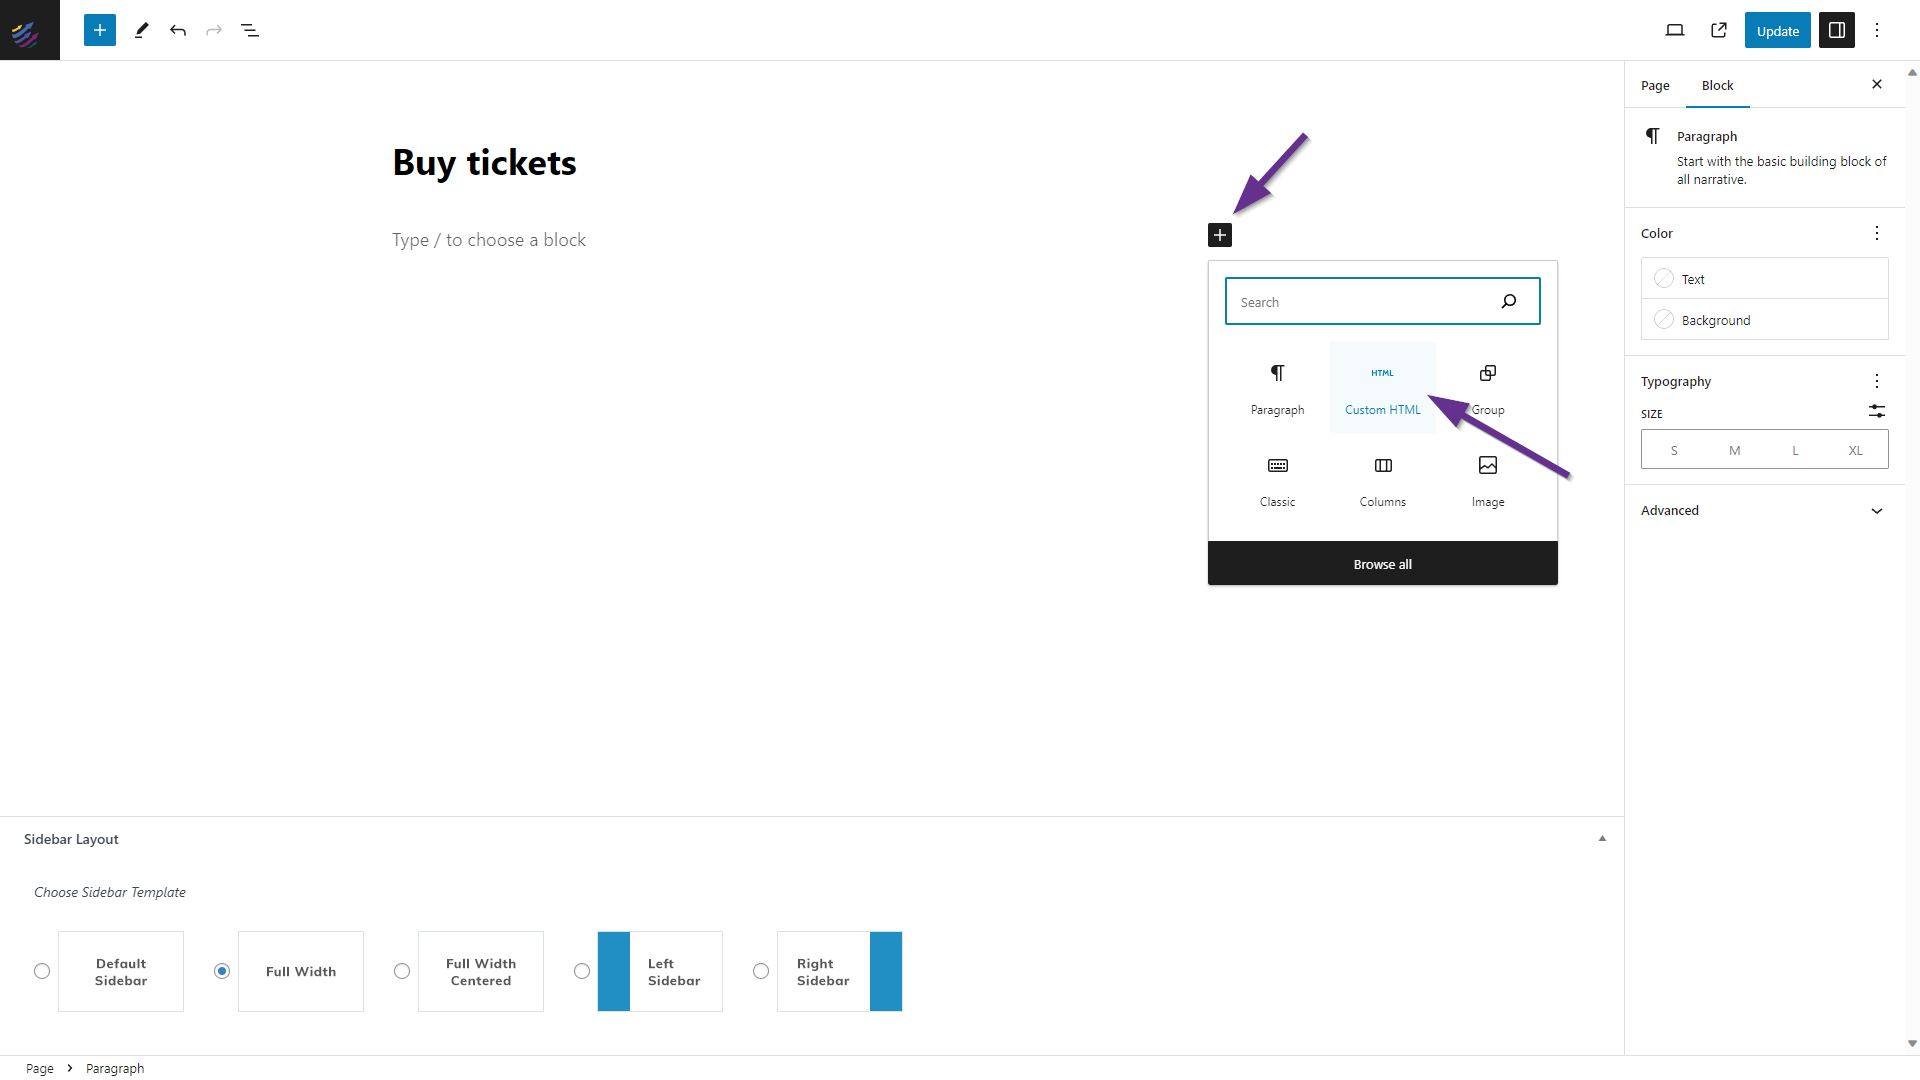
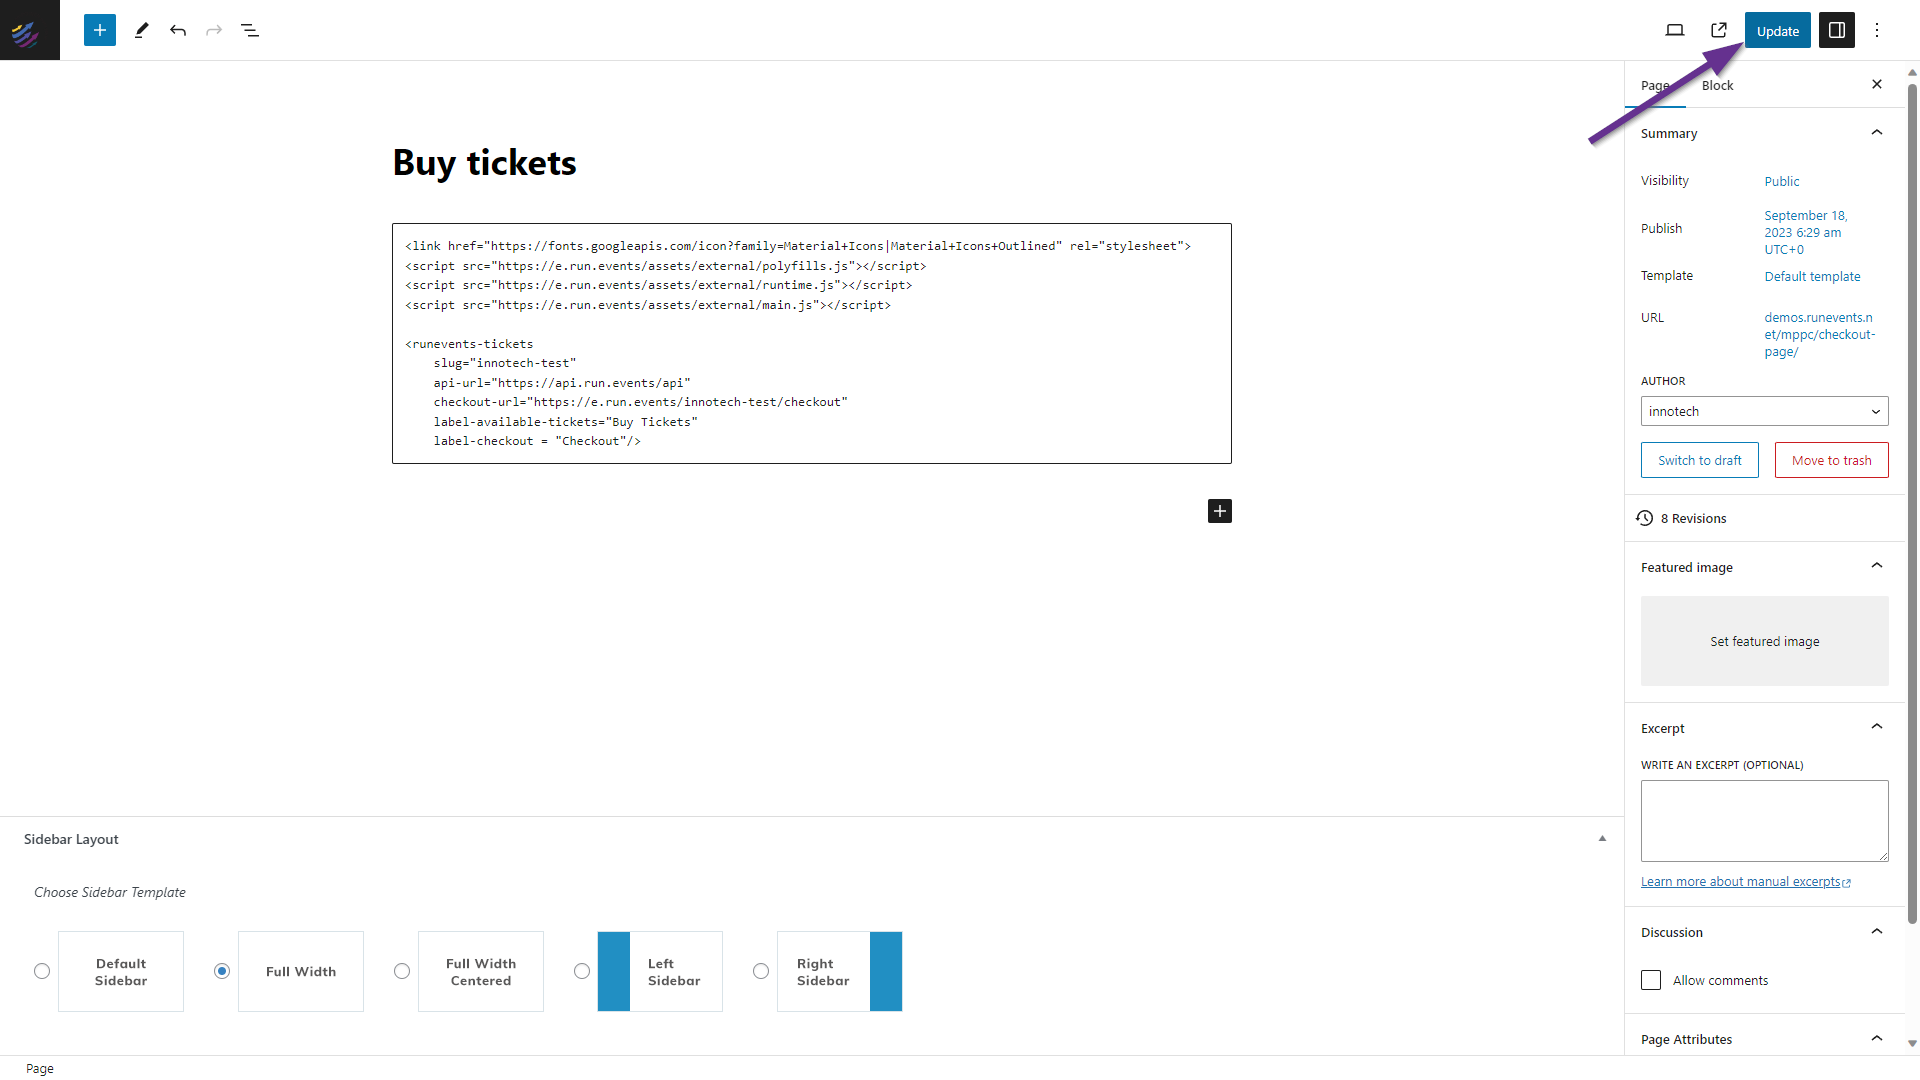
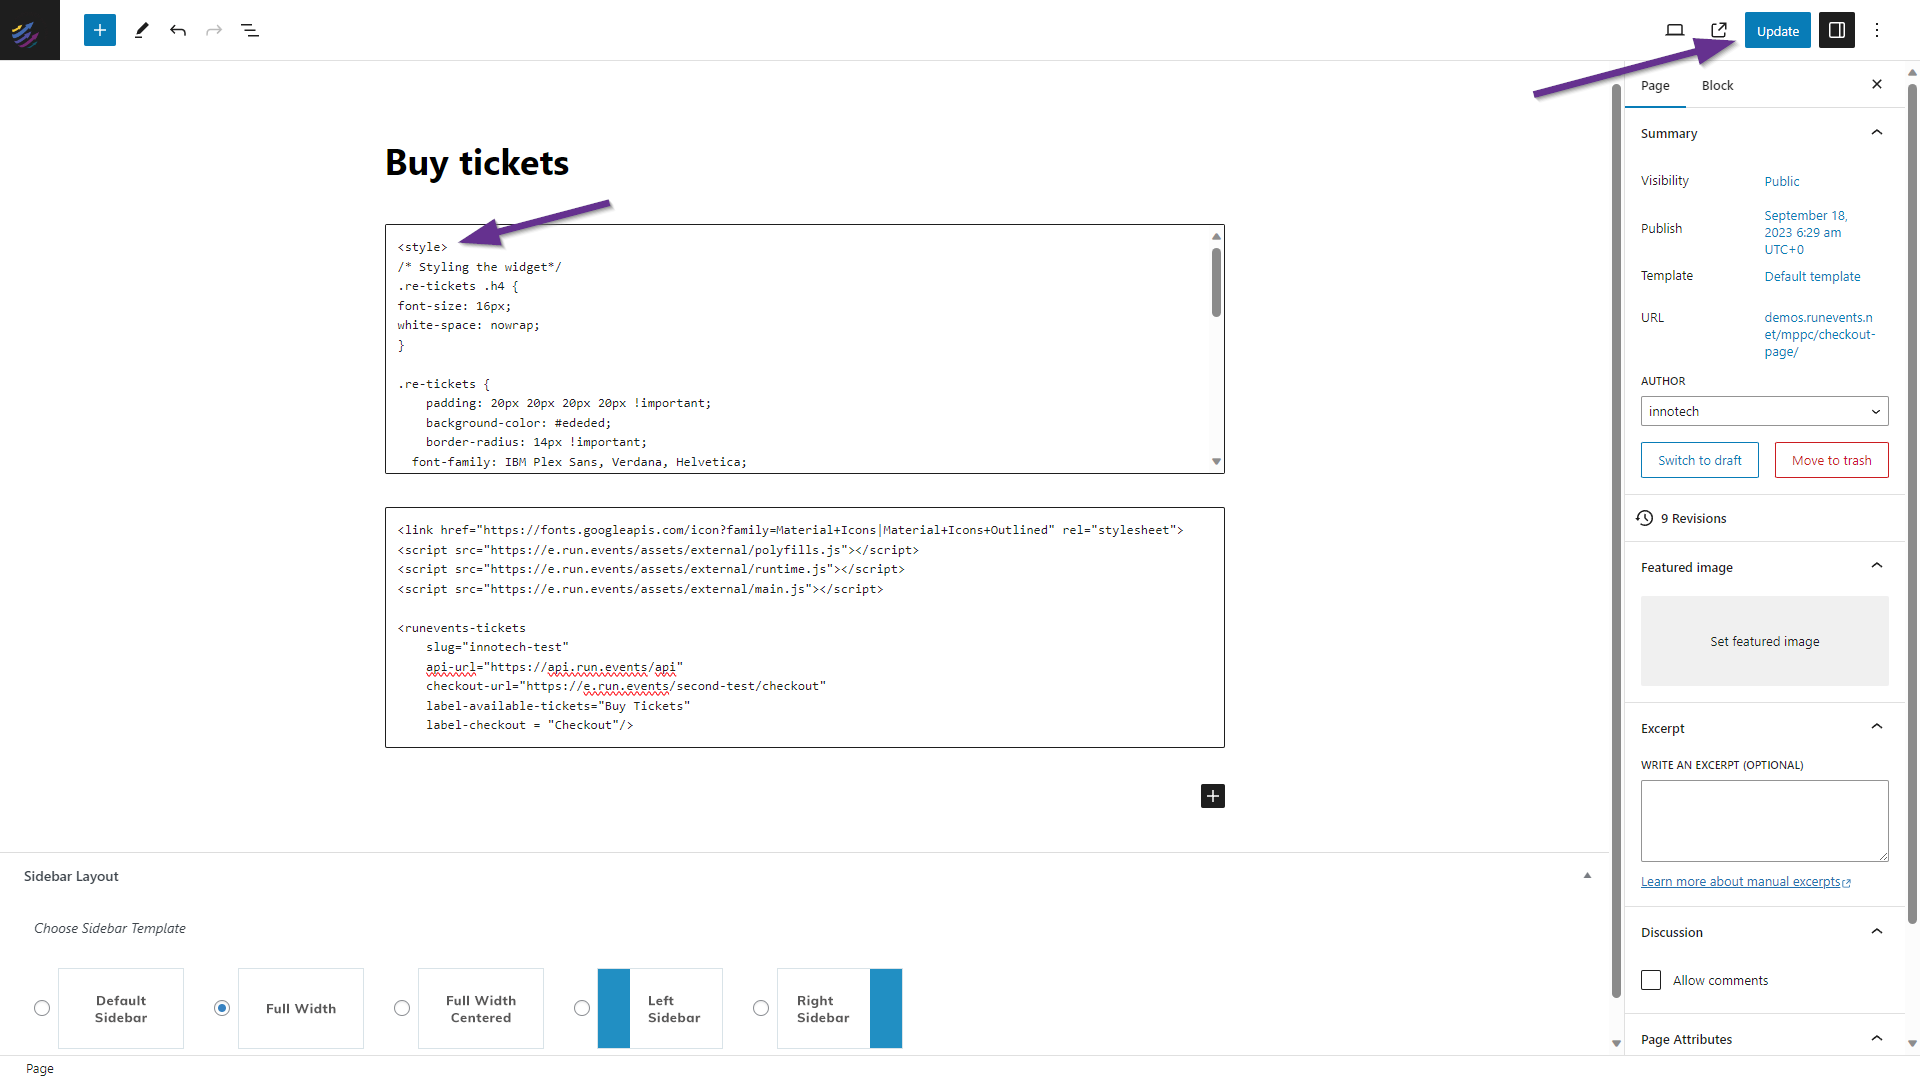
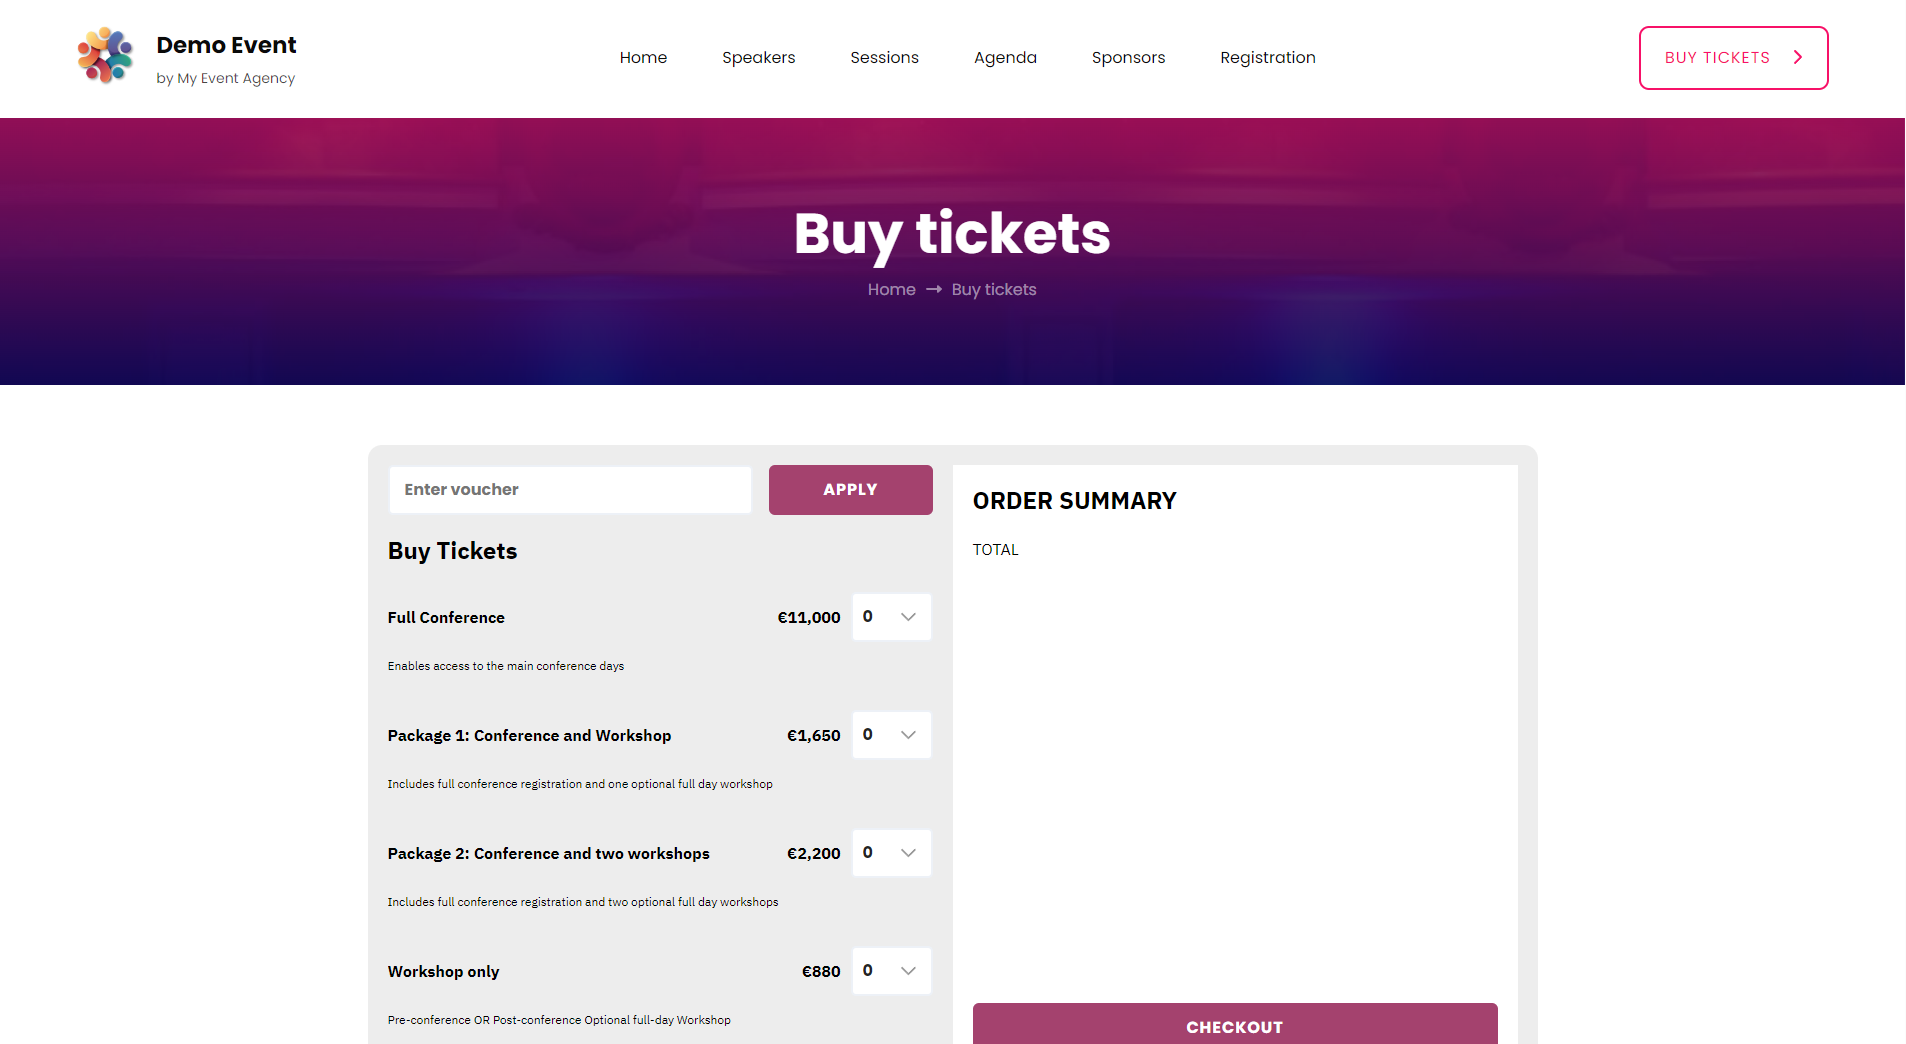
Integrating run.events tickets, sponsors, speakers, and agenda widgets in your WordPress site

Sep 18, 2023 / 1 min
By: Adis Jugo, President (Technology)
run.events event data, such as widgets for ticket purchasing, displaying speakers, sessions, agenda, and sponsors can easily be integrated with any website and with every CMS in only a few minutes.
  

In this short article, we will show you how to integrate run.events widgets with your WordPress site in four quick steps. The whole process should not take longer than five minutes. 

2023 09 18 13 11 42 Greenshot
1. Copy the widget code.

Go to your event in run.events, open the "Settings" section, and open the "Widgets and Links" tile. Copy the code from the widget that you want to embed. The widgets will work as-is, but pay attention that for most of the widgets there are additional options with which you can fine-tune the widget behavior.
Screenshot Add Html Block
2. Go to your WordPress site, and open the page (or post!) where you want to display your data from run.events.
Screenshot Update Page
3. Create a new "Custom HTML" section on that page, and paste the widget code that you have copied from run.events.
2023 09 18 08 40 01 Greenshot
4. Click on "Publish" or "Update" (depending on the status of your page), and open that page in a new browser.
Blank
As you can see, your widget is already there, and it is already fully functional. It will take over standard styles from your website, so you can start selling tickets immediately, or display your speakers, sponsors, and agenda.


Optionally, you can also restyle run.events widgets. In this example, let's style this widget to look even more like our website.

Optional Widget Styling In Wordpress
5. Create a new "Custom HTML" section on that same page, and paste the CSS which you will find at the bottom of this post.
 
Move that new "Custom HTML" section above the existing "Custom HTML" section which contains your widget.
Tickets Widget In Wordpress Styled
6. Publish or update your WordPress page.
 
 
As you can see, the widget now looks significantly different, and more adjusted to your own website style.

Please feel free to take a look at the CSS below, customize it according to your corporate identity and your needs, and make your ticket-selling widget even more attractive to your attendees.
Blank

Sample CSS Code for styling run.events ticket purchase widget

 
<style>
/* Styling the widget*/
.re-tickets .h4 {
white-space: nowrap;
}

.re-tickets {
    padding: 20px 20px 20px 20px !important;
    background-color: #ededed;
    border-radius: 14px !important;
  font-family: IBM Plex Sans, Verdana, Helvetica;
}
.re-tickets .btn {
    background-color: #a5416f !important;
    color: #fff;
    border: 2px solid #a5416f !important;
    font-size: 16px;
    line-height: 24px;
    padding: 11px 15px;
    font-weight: 700;
    text-align: center;
    text-decoration: none;
    cursor: pointer;
    transition: .3s all;
  border-radius: 6px !important;
}

.section h2 {
    font-size: 24px;
    font-weight: 700;
}

/* end of styling the widget */
</style>